This is my current recipe for my basic next-day dough. That means you have to start this dough the day before you’re going to use it. Good pizza dough is not made in one day. If you want same day pizza, I’d suggest ordering from your favorite local spot.
This dough is sort of a “neopolitan” inspired dough I’ve adapted. That just means it’s based on traditional pizza from Naples and early New York pizza and elite New York pizza ala Lombardi’s, Grimaldi’s, John’s of Bleecker, Lucali, etc. Whether the final pizza is closer to a neopolitan style or New York style will largely depend on how you prepare and cook the pizza. I generally cook pizzas made with this dough in a small wood-fired oven in my backyard, but I’ll include some modifications to the recipe if you’re going to cook in your home oven.
Basic Dough Formulation
Baker’s Percents
67% Hydration
2.25% Sea Salt
.4% Instant Dry Yeast (UPDATE – May 2021: Lately I’ve been using half the amount in this recipe because I was getting too much activity from .4%. Beginners might have better luck with .2%.)
UPDATE – Summer 2021 – 63-65% has been working a little better in the summer months.
If you don’t know what Baker’s Percents are, don’t worry about them for now. I use these so I can scale the recipe, and I’ll explain Baker’s Percents another time. For the rest of you, here are the ingredients:
Ingredients
Bread Flour – 601g
Water – 403g
Instant Dry Yeast – 2.4g (UPDATE – May 2021: 1.2g)
Sea Salt – 13.5g
I use a scale for making pizza. I suggest you get a scale if you don’t already have one because it’s difficult to measure flour consistently by volume. If you want to try this recipe using volume measurements, there are probably converters on the web you can use, but you may not get quite the same results. In general, using a little more flour won’t hurt things, but if you don’t use enough the dough could end up being a lot more difficult to work with.
This recipe makes four 250g dough balls which will yield four ~11″ pizzas. This recipe is slightly larger than you need for 4 balls, but that’s to account for a little residue left in the bowl during the dough making process.
You can make 10″ pizzas with these balls. You can make 12″ pizzas with these balls. Going bigger will give you a thinner crust and smaller will make it a bit thicker. When I cook pizza for my family of four, I usually end up making 3 of these. I should note we don’t go crazy with toppings, though, but I’ll talk more about that in another post.
If you don’t need 4 pizzas, you can put the leftover dough balls in your fridge and use them within 3-4 days or you can freeze them. You can also repurpose some of the dough for breadsticks. I always make this much dough even if I’m only making one pizza because I’ve found it’s easier for me to make the dough in my mixer when it’s a larger batch. After 3 days in the fridge, the dough isn’t typically as good, but I’ve used these a week after making them. I think the best is within a day or two of making the dough.
A few notes on ingredients….
First, use bread flour and NOT all-purpose flour. You could try AP flour, but the water content in this recipe might be too high for it. I usually use King Arthur Bread Flour which has a 12.7% protein content. Second, this recipe calls for Instant Dry Yeast, not Active Dry Yeast. If you need to use ADY or another form of yeast because that’s all you can find, you’ll have to find a conversion chart to get the right amount because different forms of yeast have different potency. You can substitute regular salt or kosher salt for sea salt, though.
I use water from my refrigerator that has been filtered, but you can use tap water. I know some people talk about how the water in some places is special, but that’s been largely debunked as being as important as some people think. I think what matters most when it comes to water is how much and that varies regionally depending on humidity and altitude. I make this dough in Atlanta where there’s a lot of humidity. In a less humid environment the dough will probably be a little different, but it should still be good. In a more humid environment you may need to reduce the water content a bit. As it gets warmer out and humidity here rises I find myself cutting back on how much water I use.
Home Oven Modifications
If you’re cooking in a home oven, you’ll probably want to add 12-13g of sugar to the recipe. This will aid in browning your dough when it cooks. I normally cook this in a wood-fired oven on a deck that is around 800-900° and at temperatures around 900-1000°, and my pizzas would burn at those temperatures if I add that sugar to them. I have cooked this dough without sugar in my home oven using a pizza steel and doing some tricks with the broiler. If you’re not very experienced in making pizza, just add the sugar.
Directions
The Night Before
This is one of the most important steps for making this dough because it creates a pre-ferment. This is what gives this dough a ton of flavor.

- Combine half the flour, half the water, and all of the yeast in a mixing bowl. Mix it until it’s well combined. I use a stand mixer for this with the dough hook, but you can also do it by hand. You just want to make sure the dough is a cohesive ball and the sides of your bowl are clean. It’s OK if the dough is shaggy and rough. Just make sure you don’t have any clumps in the ball.
- Cover the bowl with plastic wrap and a towel and leave it on your counter. You want to make sure the bowl is sealed so the dough can’t dry out.
When using Active Dry Yeast instead of Instant Dry Yeast, you don’t need to bloom the yeast in water first. Most recipes calling for that just have you do it to make sure your yeast isn’t dead and will actually work.
The Next Day
- Check the dough in the morning. You should see bubbles or craters in it that look something like this. You should also be able to smell the dough.

- Add the remaining water, flour, and salt into your mixing bowl. If you’re going to cook in a home oven, add the sugar. I usually do this around 10-11am in the morning, but you can do it earlier if the dough is ready. If it’s not quite ready, don’t worry too much about waiting if you need to do everything right then and there. I just put all the ingredients right on top of the dough like this.

- Mix the ingredients until they are completely combined and you have a ball of dough. I start my mixer on a very low speed and gradually turn it up as things combine. The sides of your mixer should be mostly clean when you’re done with this step. The dough shown here is ready for the next step.

- Now it’s time to knead the dough. This is the part of the process that can be a pain because the dough must be kneaded until you have a smooth surface. How long it takes will vary depending on how you knead it, and since the dough is wet and sticky at this point it can be frustrating and seem like you’re not getting anywhere.
In our Kitchen-Aid stand mixer, I usually just crank the speed up to 4 until the dough is slamming against the sides of the mixer and let it go for a few minutes. I just have to watch the mixer because it tends to move around on the counter.
You can also pour the dough out on a lightly floured surface and knead it by hand. If the dough is too sticky for you to manage, you can get your hands a little wet. Try and resist the urge to add flour, though, because you’ll change the formulation of the dough.
Ultimately you want a smooth surface on your dough. Just keep kneading until you get there. If the dough gets too tough to knead, let it rest for about 20 minutes and then start again.
As I said, I usually bang it around in my stand mixer for several minutes, and then do a 20 minute rest. Then, if I can remove the dough from the bowl without it sticking to the bowl, I’ll knead it a little bit by hand as I form it into a dough ball with a smooth surface.
This is what my dough looks like before I do a 20 minute rest. Notice how it is still shaggy but starting to smooth out.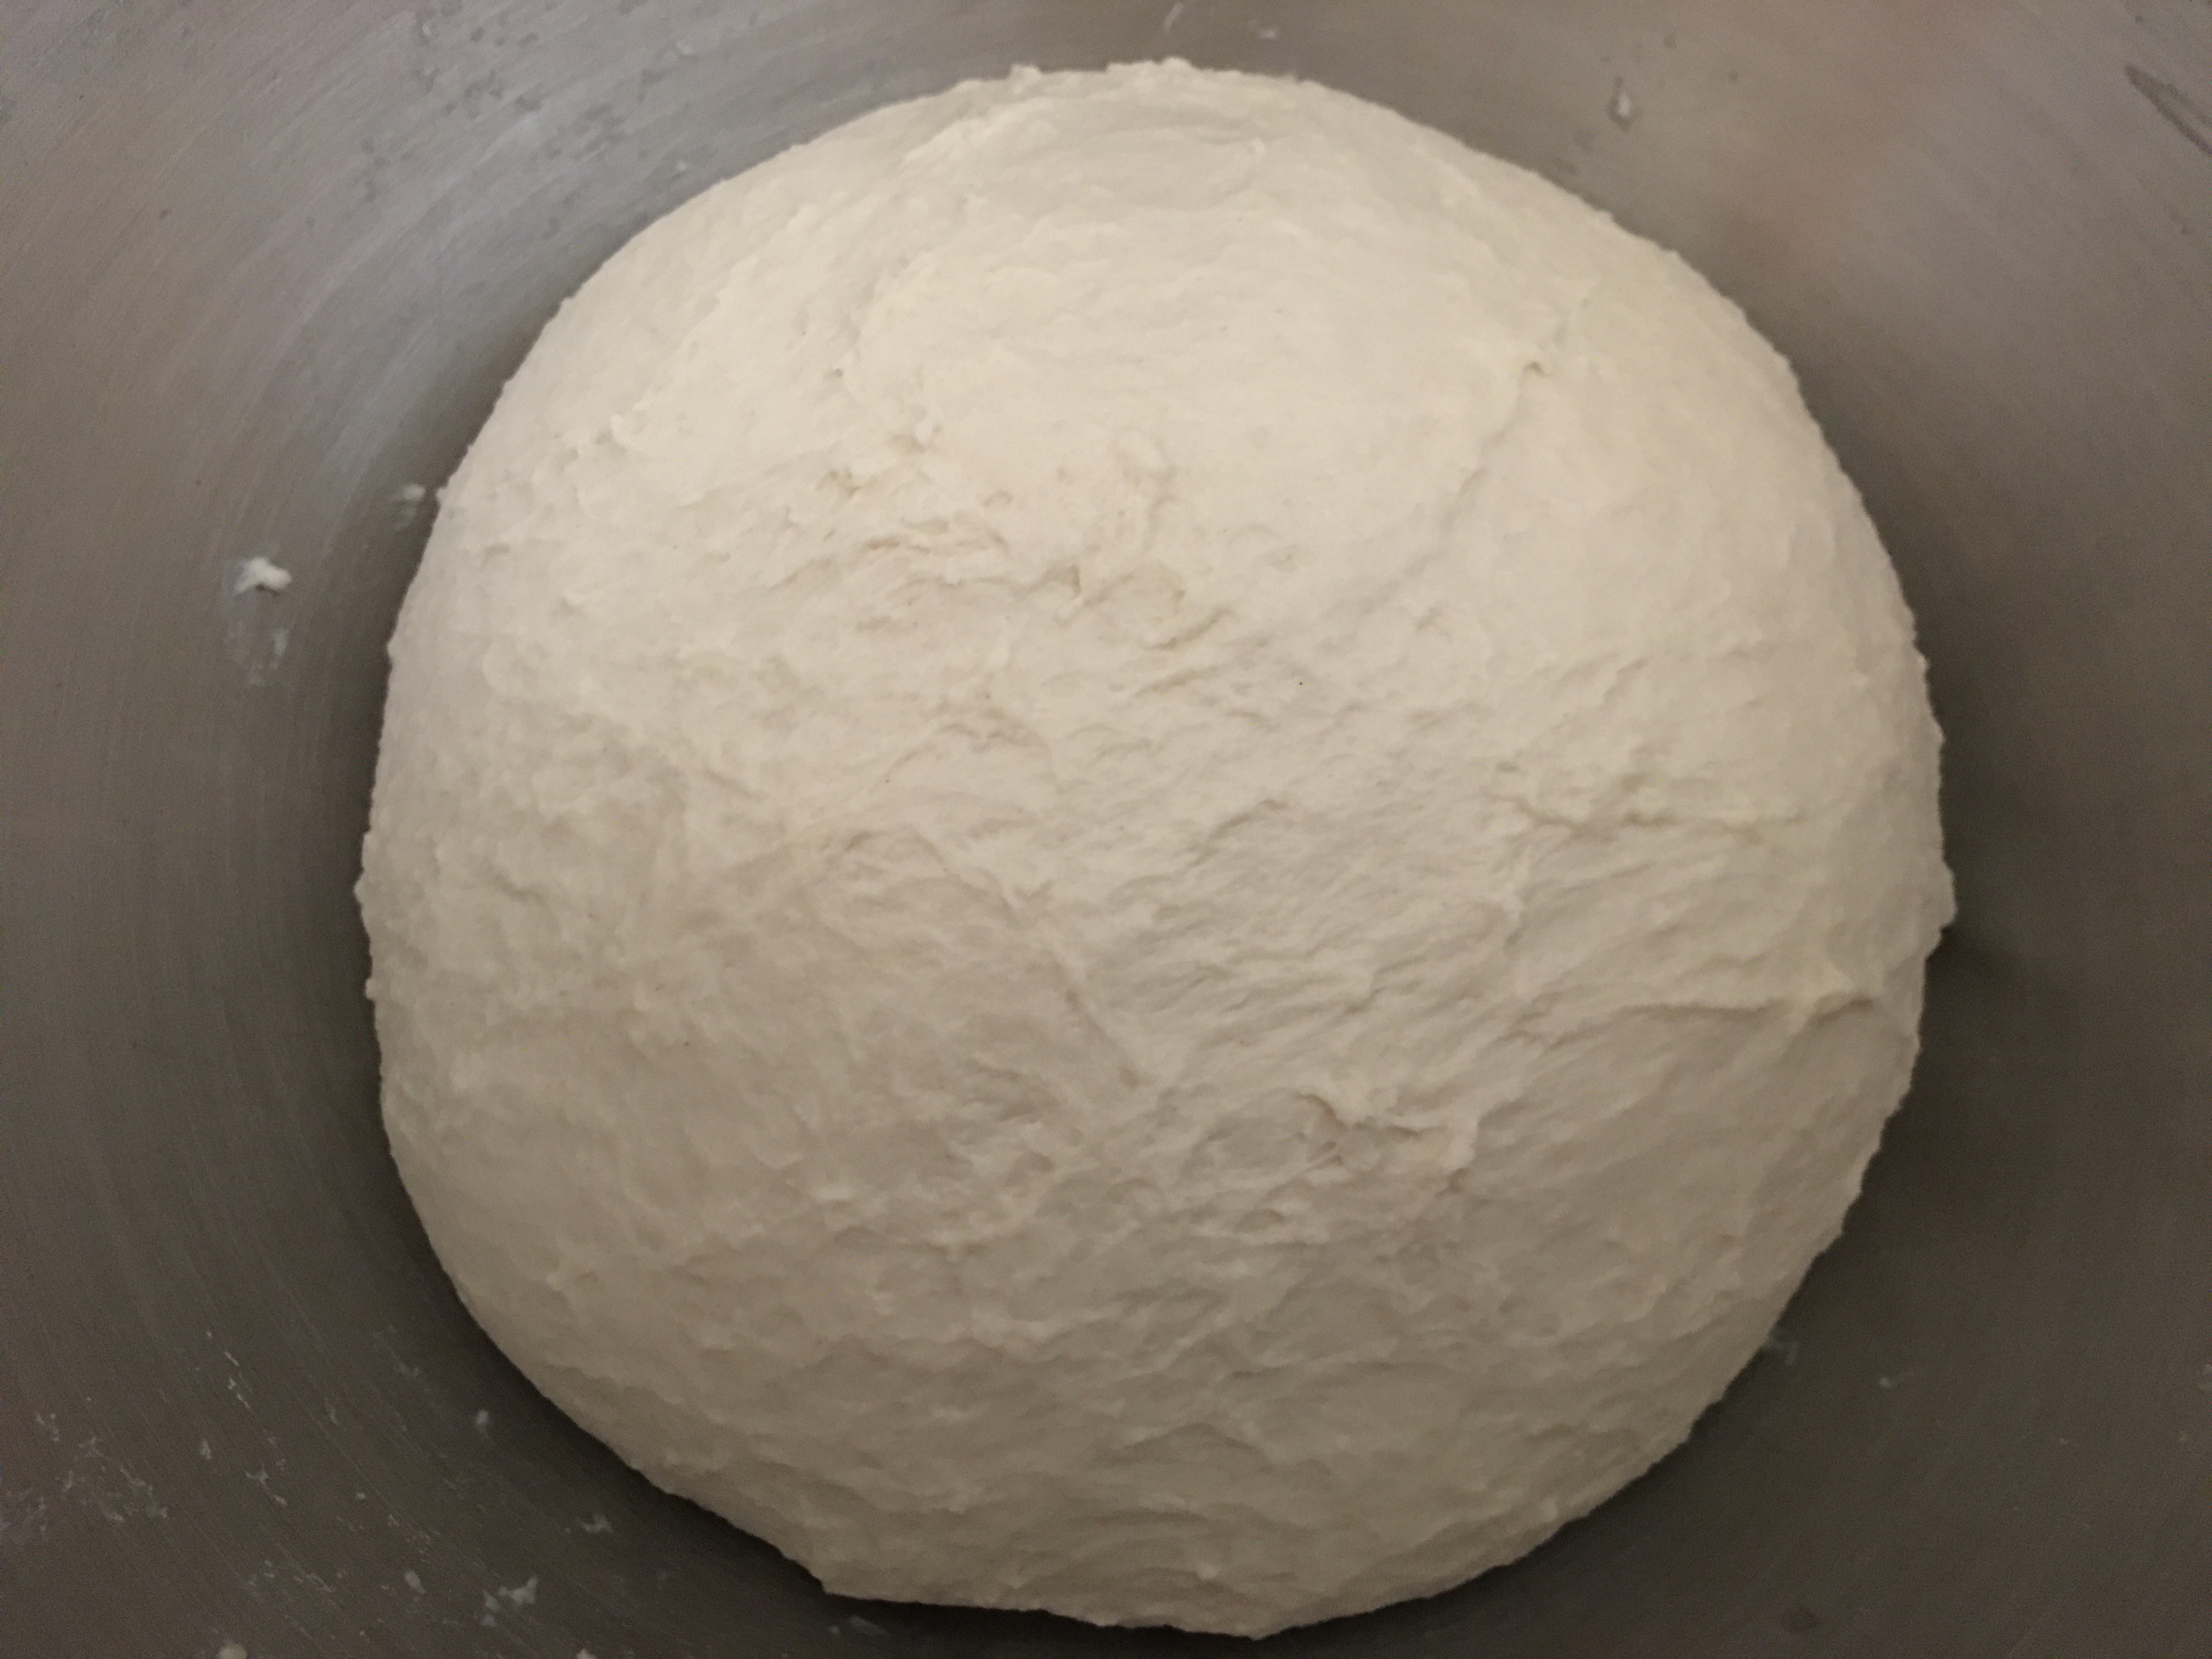
After the rest and a little bit of kneading/balling the dough, it looks like this. Notice how smooth the dough is now.
If your dough still isn’t smooth like this after kneading it again, do another 15-20 minute rest. Repeat the process until your dough is smooth. Once the dough is smooth, go to the next step.
By the way, don’t worry about overworking the dough if it’s not smooth during this step. - Once the dough is smooth, place the dough in a bowl and seal it with plastic wrap. You may lightly oil the bowl with olive oil before you do this if you’re worried about it sticking, but I don’t.
- Let the dough rest for two hours. This step might not actually be necessary, but I like letting it sit in bulk for a bit.
- Lightly flour a surface, remove the dough from your bowl, and place it on the surface. At this point you want to start being careful in how you handle the dough. You don’t need to baby it, but you don’t want to be rough with it. There will likely be a lot of gas in the dough. It’s OK to have bubbles pop, but I wouldn’t actively try and de-gas the dough unless it seems extreme.
- Divide the dough into 250g portions. Don’t worry if you have a little bit of leftover dough. You can divide it and add it to your portions or just throw it out.

- Finally, you want to form each portion into a ball. I do this by sort of folding the dough into itself to make a ball. I usually fold it in one way, then turn it 90° and fold it the other way alternating back and forth until I have a smooth ball. Then I’ll crimp the bottom so that the ball is sealed.
I usually have a lot of gas in the dough at this point so I am often popping bubbles on the surface through the process of making the individual balls. I don’t actively try and get ride of gas, though. - Lightly oil a small container with olive oil and place each ball in a container. I have some small ziploc containers I use for this.

- If you’re using the dough the same day, leave the containers on the counter until you’re ready to make your pizzas. Otherwise, put them in the fridge. This dough should be very active so you will probably have to pop your containers open to release gas or they will pop open themselves. If you put the dough in the fridge, the cold will slow down the yeast activity so you may only need to “burp” the containers once a day or every couple of days. (UPDATE – May 2021: If you cut the yeast amount in half as I mentioned above, you probably won’t need to “burp” your containers as much.)

There’s nothing special you need to do in order to use this dough. It will be wet so you should give it a “flour bath” when you start opening it up to make a pizza. I usually dump the dough into a bowl of flour and make sure it is lightly coated, but you can just use flour on your counter and sprinkle more on top. You just want a light coat so that the dough is dry to the touch and doesn’t stick to you or anything else.
If you try this out, let me know how it works for you. Here’s an example of what my pizzas using this dough usually look like when they are all said and done.

